Cast on with waste yarn, putting every fourth needle out of work. Complete as for 1x1 mock rib.
Sunday, 14 March 2010
Mock rib: 2x1
Cast on in waste yarn, with every third needle out of work. Complete as for 1x1 mock rib.
Mock rib: 1x1
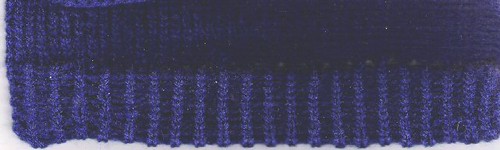
Cast on EON (Every Other Needle) with waste yarn and knit a few rows, and then knit 1 row ravel cord. Knit required depth of rib at MT, and 1 row MT+2, followed by depth of rib again. Bring all needles into work.
Hang first row of knitting onto empty needles and knit 1 row.
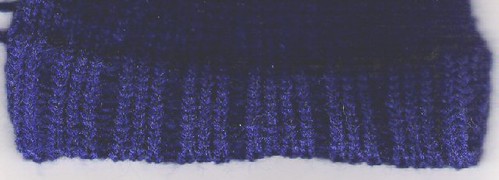
Note: mock rib is not as stretchy as real rib.
Hems: decorative scalloped hem
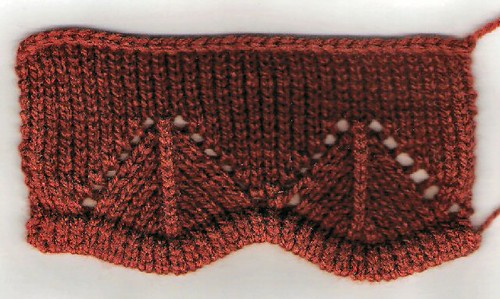
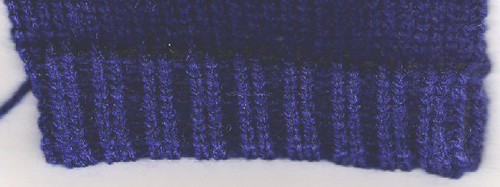
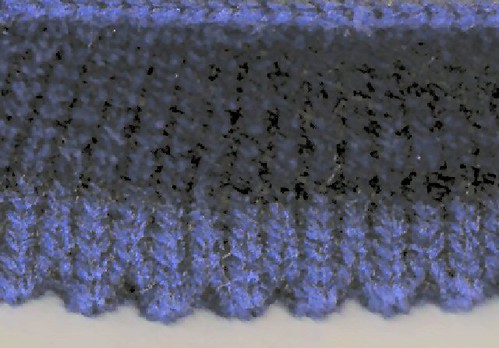
This hem is from the Brother knitting techniques book, page 128. It's an 8 row hem, and then groups of stitches are moved using the transfer tools, six stitches on the first row, five on the third, and so on.
Hems: scalloped hem
- Cast on with waste yarn and knit a few rows
- Knit 1 row ravel cord
- Knit 1 row main yarn
- Select alternate (eg odd) needles to D position, set carriage to slip/part both ways, knit 1 row
- Select alternate (eg even) needles to D position, knit 1 row
- Repeat 4 and 5
- Cancel slip/part, set carriage to hold.
- Select the 5th and every following 8th needle to hold
- Knit 6 rows
- Cancel hold
- Knit 5 rows
- Pick up cast on row and hang it onto needles, knit 1 row
Hems: Double picot
- Work picot hem as for single picot hem.
- Knit 12 rows.
- Knit 1 row with a coloured cord along with the main yarn.
- Knit a further 5 rows with main yarn only.
- Transfer every 2nd needle, leaving empty needles in work.
- Knit 6 rows
- Pick up the row marked with the coloured cord and hang onto needles
- Knit 1 row
- Pull the coloured cord tight and remove from one end
Hems: single picot
- Cast on with WY, knit a few rows
- Knit 1 row ravel cord
- Knit 7 rows main yarn
- Transfer every 2nd needle left, keeping empty needles in work.
- Knit 6 rows main yarn
- Pick up the first row knitted and hang onto needles, knit 1 row.
Hems: simple hem
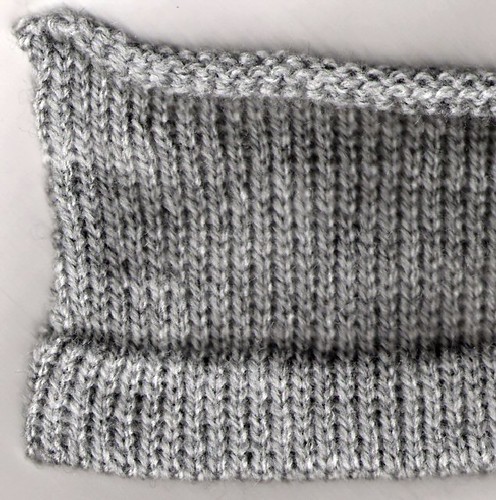
This is created by casting on the required number of stitches, and knitting a few rows in waste yarn, and one row with ravel cord. Knit 10 rows main yarn/main tension (MT), 1 row MT+2, 9 rows MT. Pick up the cast on row from above the ravel cord and hang it on the needles (you shouldhave one less stitch than needle, this is normal).
Sunday, 22 February 2009
Anatomy of a carriage - main bed

A - tension dial. Higher numbers = looser stitches
B - Normal/Hold - to select partial knitting
C - card select, normal knitting, carriage release
D - cam buttons - tuck, slip, fair-isle etc*
E - main yarn feeder
F - contrast yarn feeder
* carriage shown is a Brother chunky KH260. As this machine has no lace, the fair-isle button is split in two, and can also do punchlace
Saturday, 25 October 2008
Short-rowing: photo tutorials
Short rowing part 2 - diagonal
Short rowing part 3 - both sides - useful for sock toes.
Thursday, 25 September 2008
Increase: simple
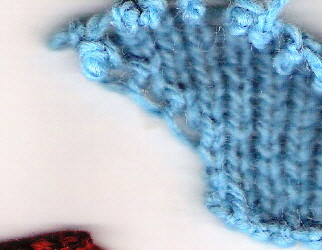
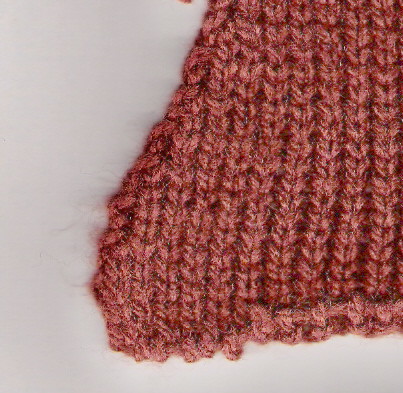
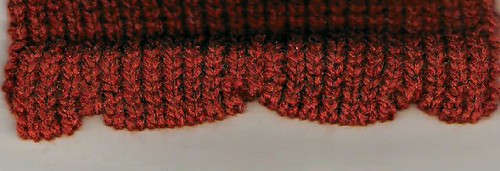
Move an extra needle into work on the edge of the knitting. Produces a ragged edge.
Increase: Fully fashioned with 3 prong tool
Using the three-pronged tool, increase three stitches and place the heel of the 4th stitch onto the empty needle. Kind of equivalent of kfb (knit forwards and back into same stitch).
Increase: decorative with small holes
Using the three-pronged tool, increase three stitches and hang the bar between the stitches onto the empty needle.
Increase: large lacey holes
Done using the three-pronged tool, increase three stitches and leave the empty needle in work.
Decrease: 2 sts every 4 rows
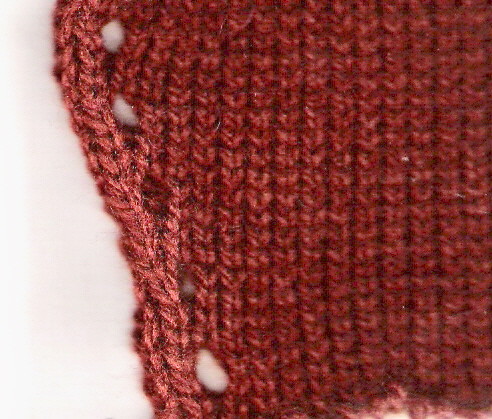
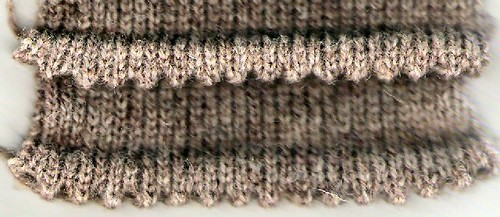
Done using the three-pronged tool, decrease two stitches every four rows.
Decrease: fully fashioned with 3 prong tool
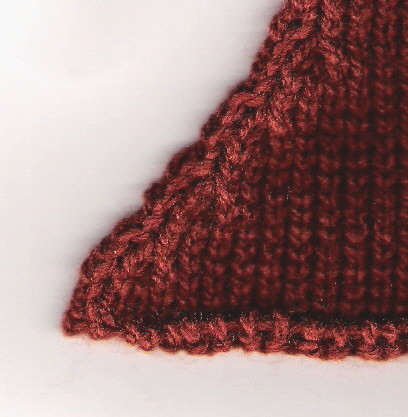
Done using the three-pronged tool, decrease three stitches in by one stitch, every two rows.
Decrease: 3sts every 6 rows
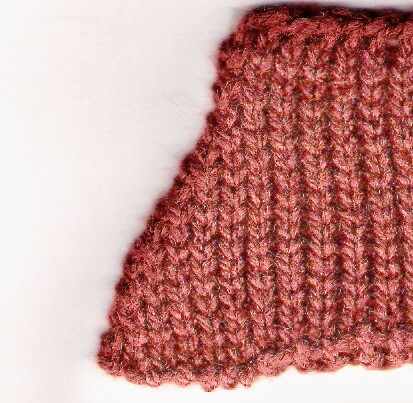
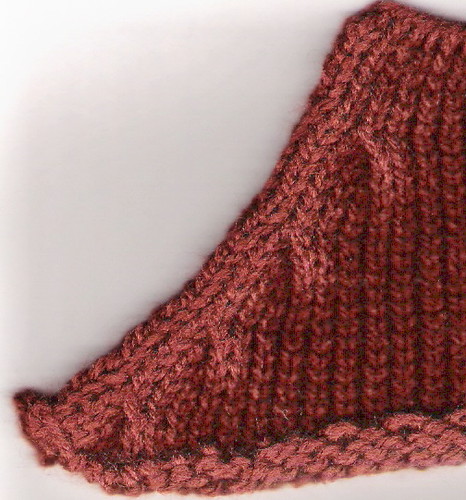
Done using the three-pronged tool, decrease three stitches every six rows. Quite a nice cable effect, and very quick.
Decrease: neater finish for V-necks
Transfer 2nd stitch to 1st stitch. Move both stitches to the now empty 2nd needle.
Monday, 14 July 2008
Transfer tool cast off, in pictures.
...in front of the gatepost
...behind the gatepost and...
...lay in new yarn and knit back by hand.
This is my favourite method of casting off, after latch tool - one in front, one behind, repeat. Not as stretched out as behind all gateposts, and not as tight as in front of all gateposts.